Without further ado…you are cordially invited to my wedding! Well, sort of.
I am so excited to kick off my personal wedding post entries with this one…the invites. Now, I didn’t know anything about wedding invitations…no clue on timeline, wording, formalities, etc. There is so much to check off and so many details to cover that I was thrilled when I found Shine Wedding Invitations. They made the process from start to finish seamless.
I first started browsing their site and bookmarking my favorite invitations. What’s nice is that their invites come in suites…invitation, envelope, RSVP card, small/large insert, etc. Everything is a group with beautiful plays on fonts and styles.
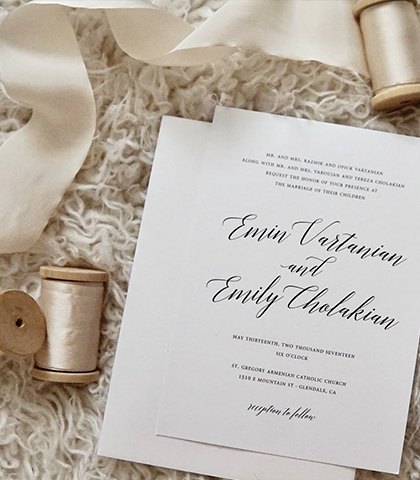
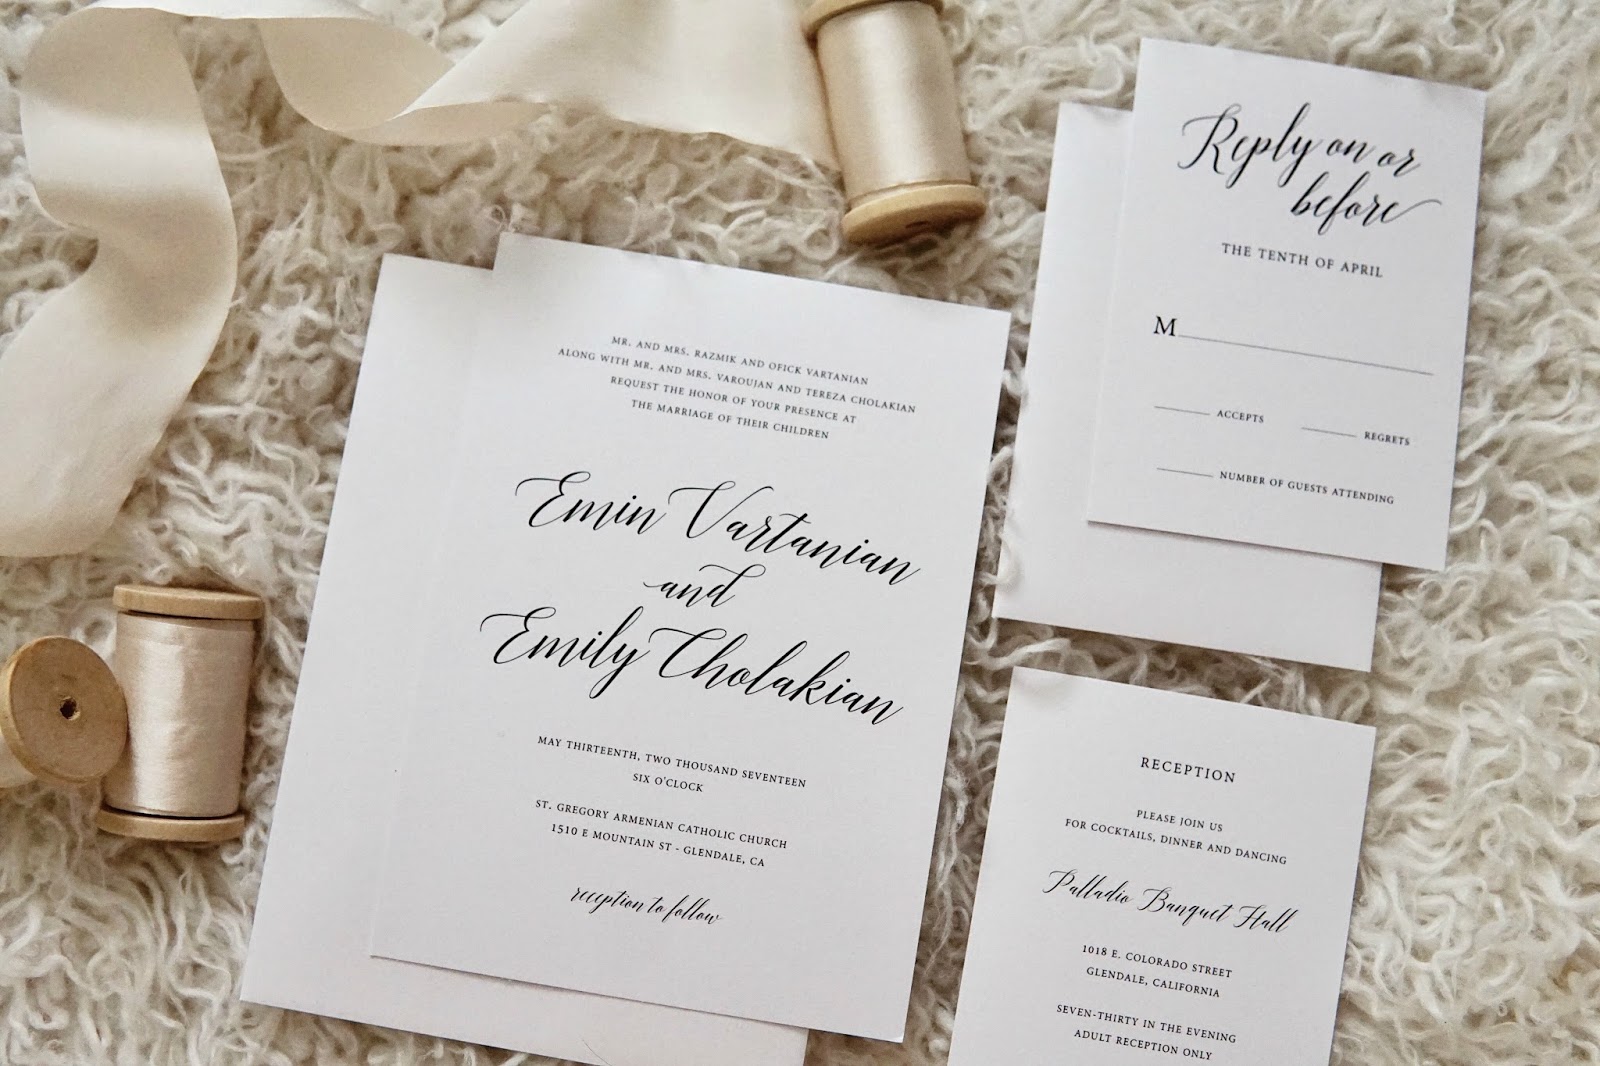
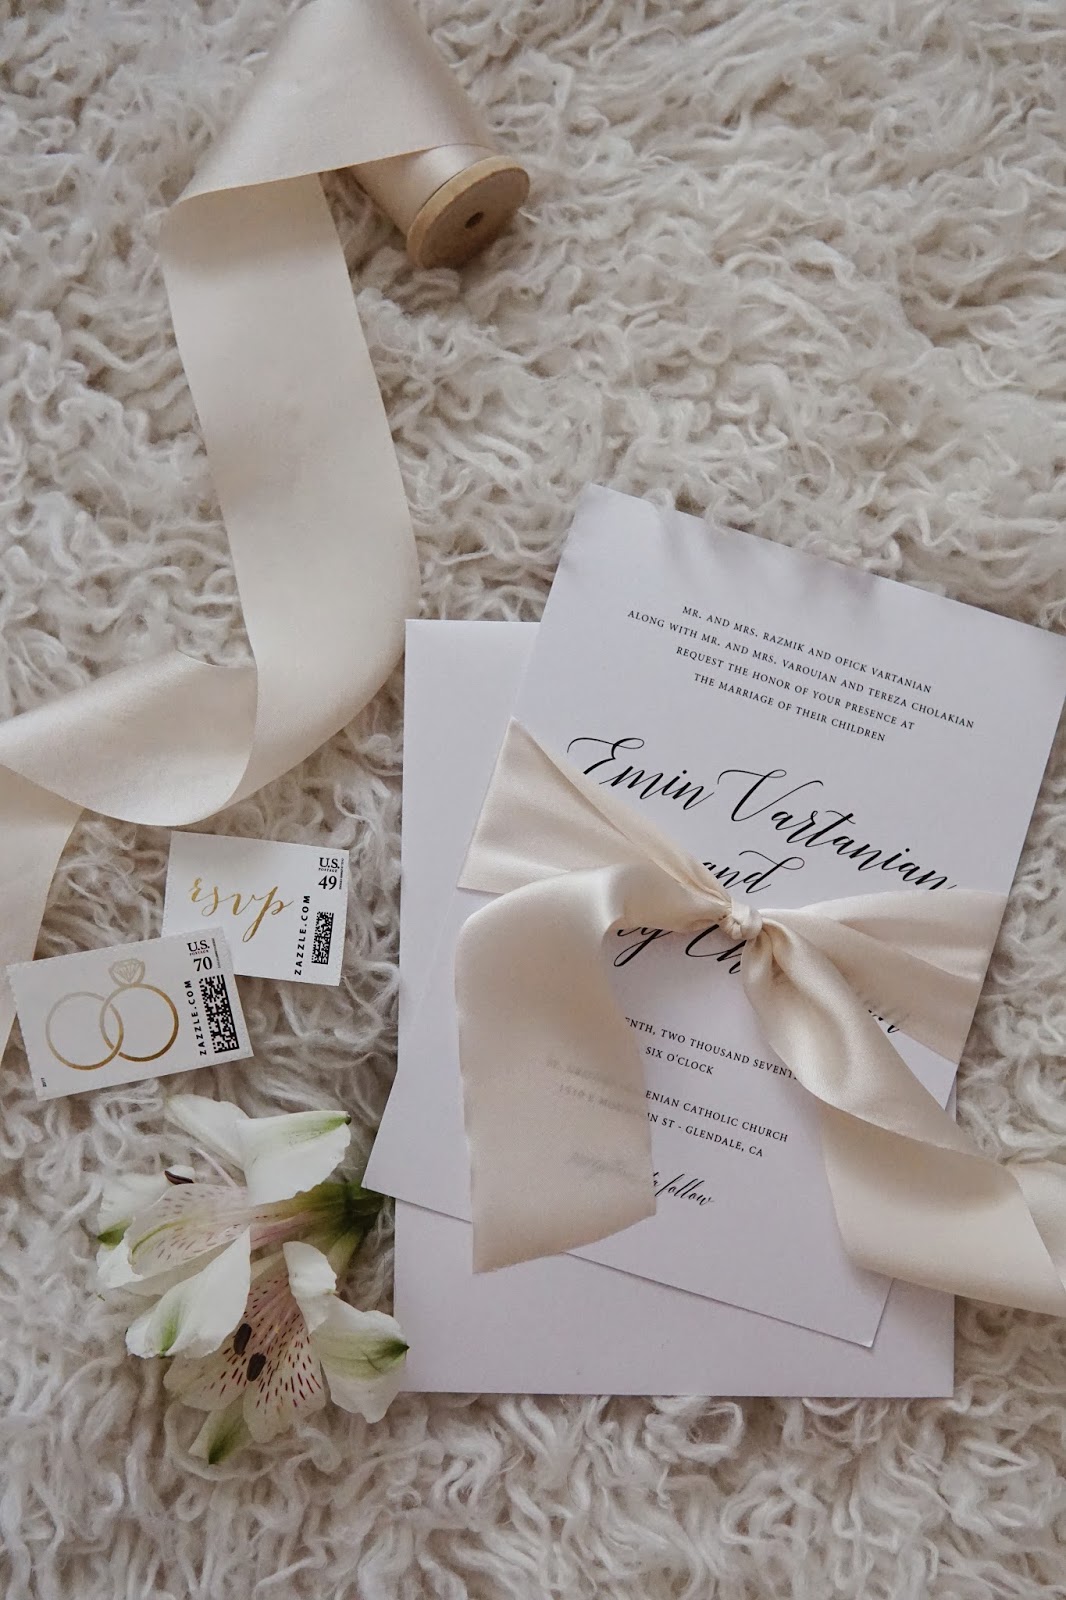
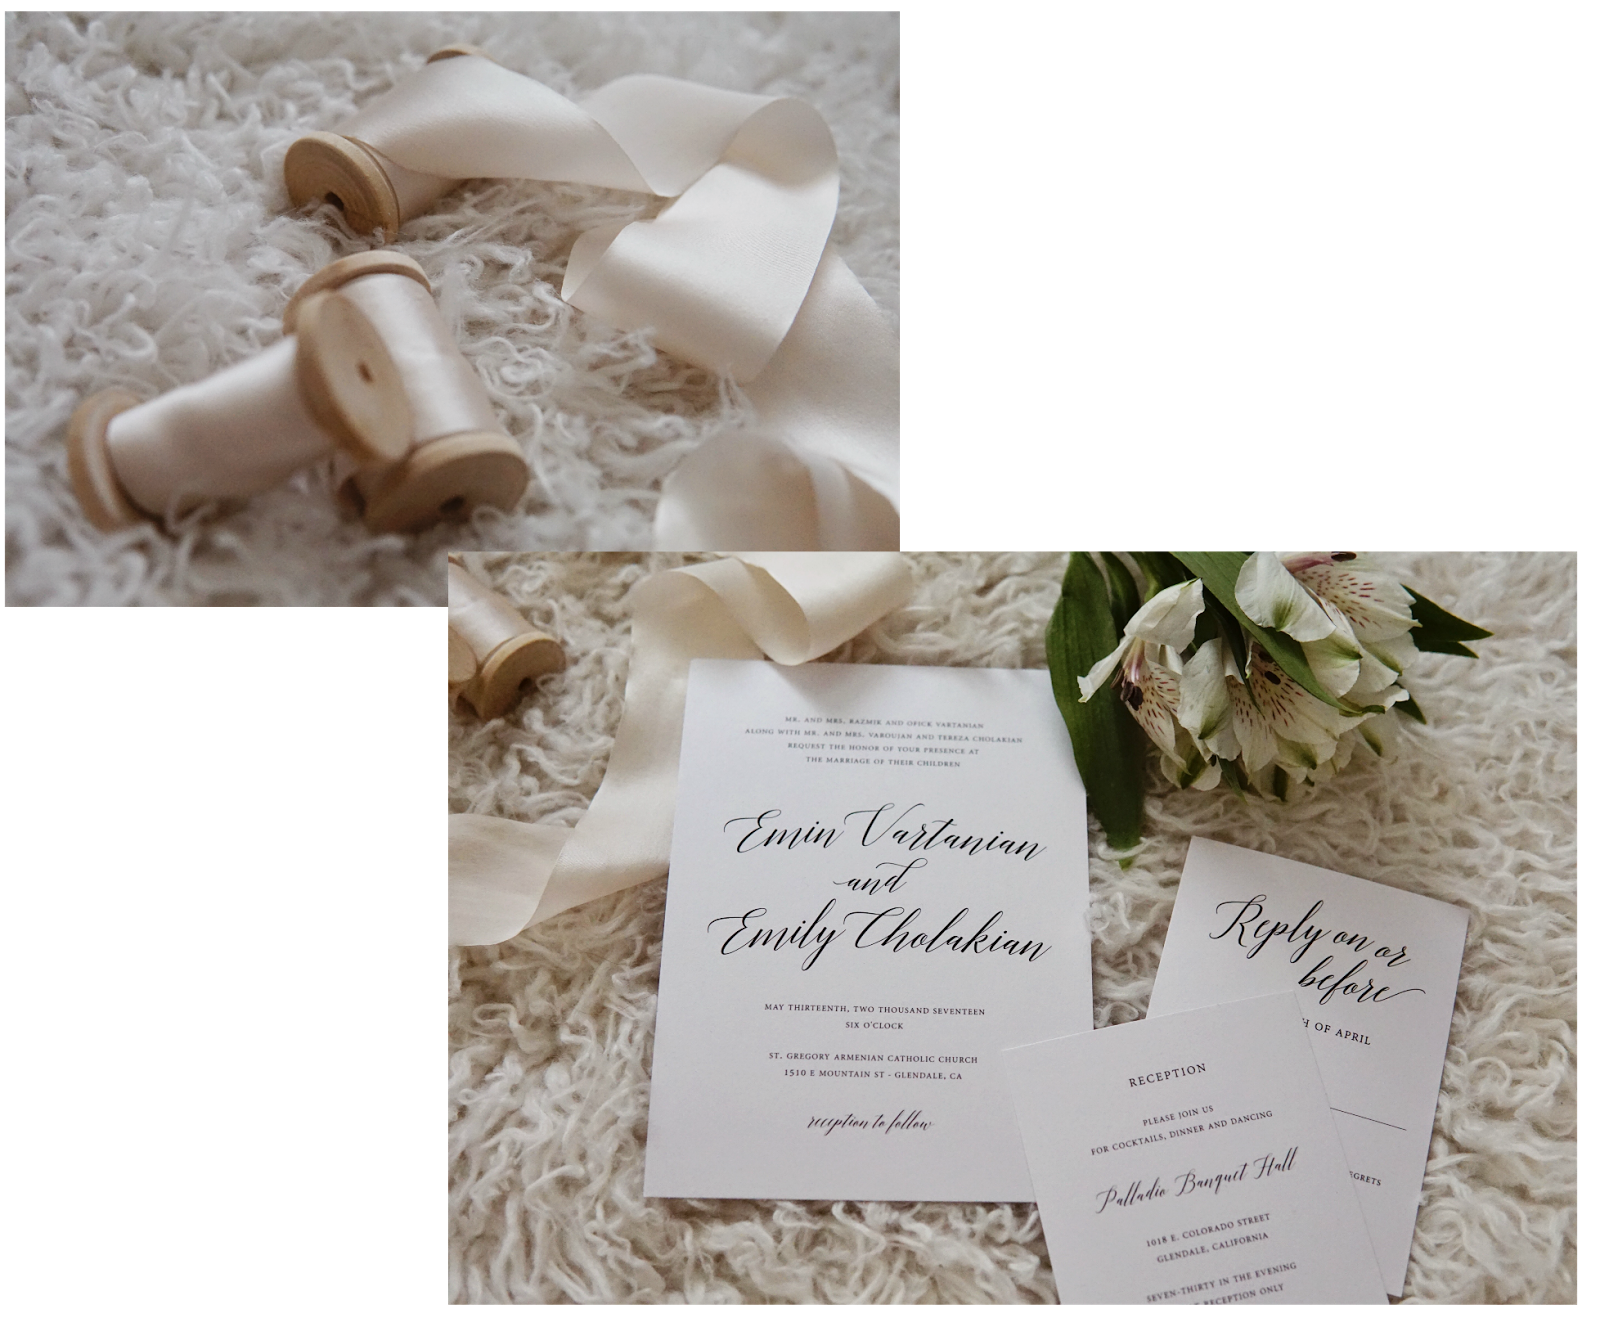 I ordered four samples and they arrived in just a few short days. Having the samples made it easy to pick our favorite. We went with Garden Romance. It was simple yet elegant and set the tone for our day. You can customize the suites with printed envelope liners, colorful fonts, ribbons and more. Note that these are preset invites but the ability to pick and choose subtle details make it your own!
I will be honest I wasn’t fully prepared for all the steps that went to the invitation process so I wanted to share what I learned with all of you…
 1. SAVE THE DATE – Emin and I didn’t send Save the Date cards because our wedding was local but I wish we had. Save The Dates save your ass when you are running behind on sending out your actual invites(which is usually the case)…and more people will bookmark the date to make it!
2. PREPARE AHEAD OF TIME – this might sound silly, obviously you should prepare ahead of time*eye roll…but really I thought I was prepared and I wasn’t! Once you finalize your wedding date start texting your friends/family for full names and addresses. I say full names because you would be surprised how different people spell their names and I say text because you want everything in writing…copy + paste is your best friend. (apologies to the handful of names we spelled incorrectly…!)
3. EXCEL – master excel. Create separate tabs for each of your families and friends, co-workers and miscellaneous. It keeps things in order so you can go back and forth between sheets rather than scrolling or searching to see who you invited or not.
4. COLUMN CHECKLIST – after each guests name and address I added three columns: mailed, RSVP, table. Once I would mail that persons invite out I would mark their mailed box with an X. Once their RSVP card came back I would mark their RSVP card with the number of people coming…etc.
5. NUMBERED RSVP CARDS – once you have all your guests in the excel sheet start packaging your invites and number the back of each RSVP card according to the number next to your guests name. You can’t imagine how many cards you will get back with only first names or only last names. Instead of hunting down who’s RSVP card that is you simply turn the card over, find the number and the corresponding name in your excel sheet. Lifesaver.
I hope these tips help your wedding invitation process. Enjoy it, laugh at the endless hours spent packaging, have a glass of wine with your babe and soak it all in…this is the first step of the best day of your life!
Thanks to Shine Wedding Invitations for my beautiful invites!
xo
ejc







I just want to let you know that I just check out your site and I find it very interesting and informative..custom essay writing service
The manager suggested doing a signature cocktail during cocktail hour, which turned to be a huge hit. There is a full bar close to the entrance area, so we were covered there too. Dessert at Los Angeles wedding venues was a presentation of cookies (all looked homemade) and my favorite was the white chocolate, macadamia nut.
The prerequisite could be to pay up unforeseen doctor's visit expenses, your child's school charge, to abstain from ricocheting of your issued checks or whatever other monetary commitment.
The Federal Truth in Lending Act requires that all banks reveal their advance expense rates, so make sure that the loan specialist you pick is in consistence.
Since the Presidential decisions is finished, Congress will return to work and will ideally work at keeping charge credits and broadening exclusions for the option least assessment.
I was more than happy to find this web site. I need to thank you for your moment due to this unbelievable read!! I definitely savored every bit of it and I have you book-marked to see new things in your web site. best custom essay writing